Welcome to part two of my session with Wai’ala, the artist behind Petals and Pigments! If you haven’t read part one yet, I highly recommend doing so.
Though the flower farm is a big part of her artistic practice and the family's homestead and business in general, indigo is where it all started for her and her husband. I have long been intrigued by indigo dye, so I was extremely excited to learn more about this process. And goodness gracious, was my mind blown by what I learned. I will keep it short here, as I want the focus to be on my photos and not a how-to on how to dye with indigo, but I will share some of the highlights and encourage you to look up more!
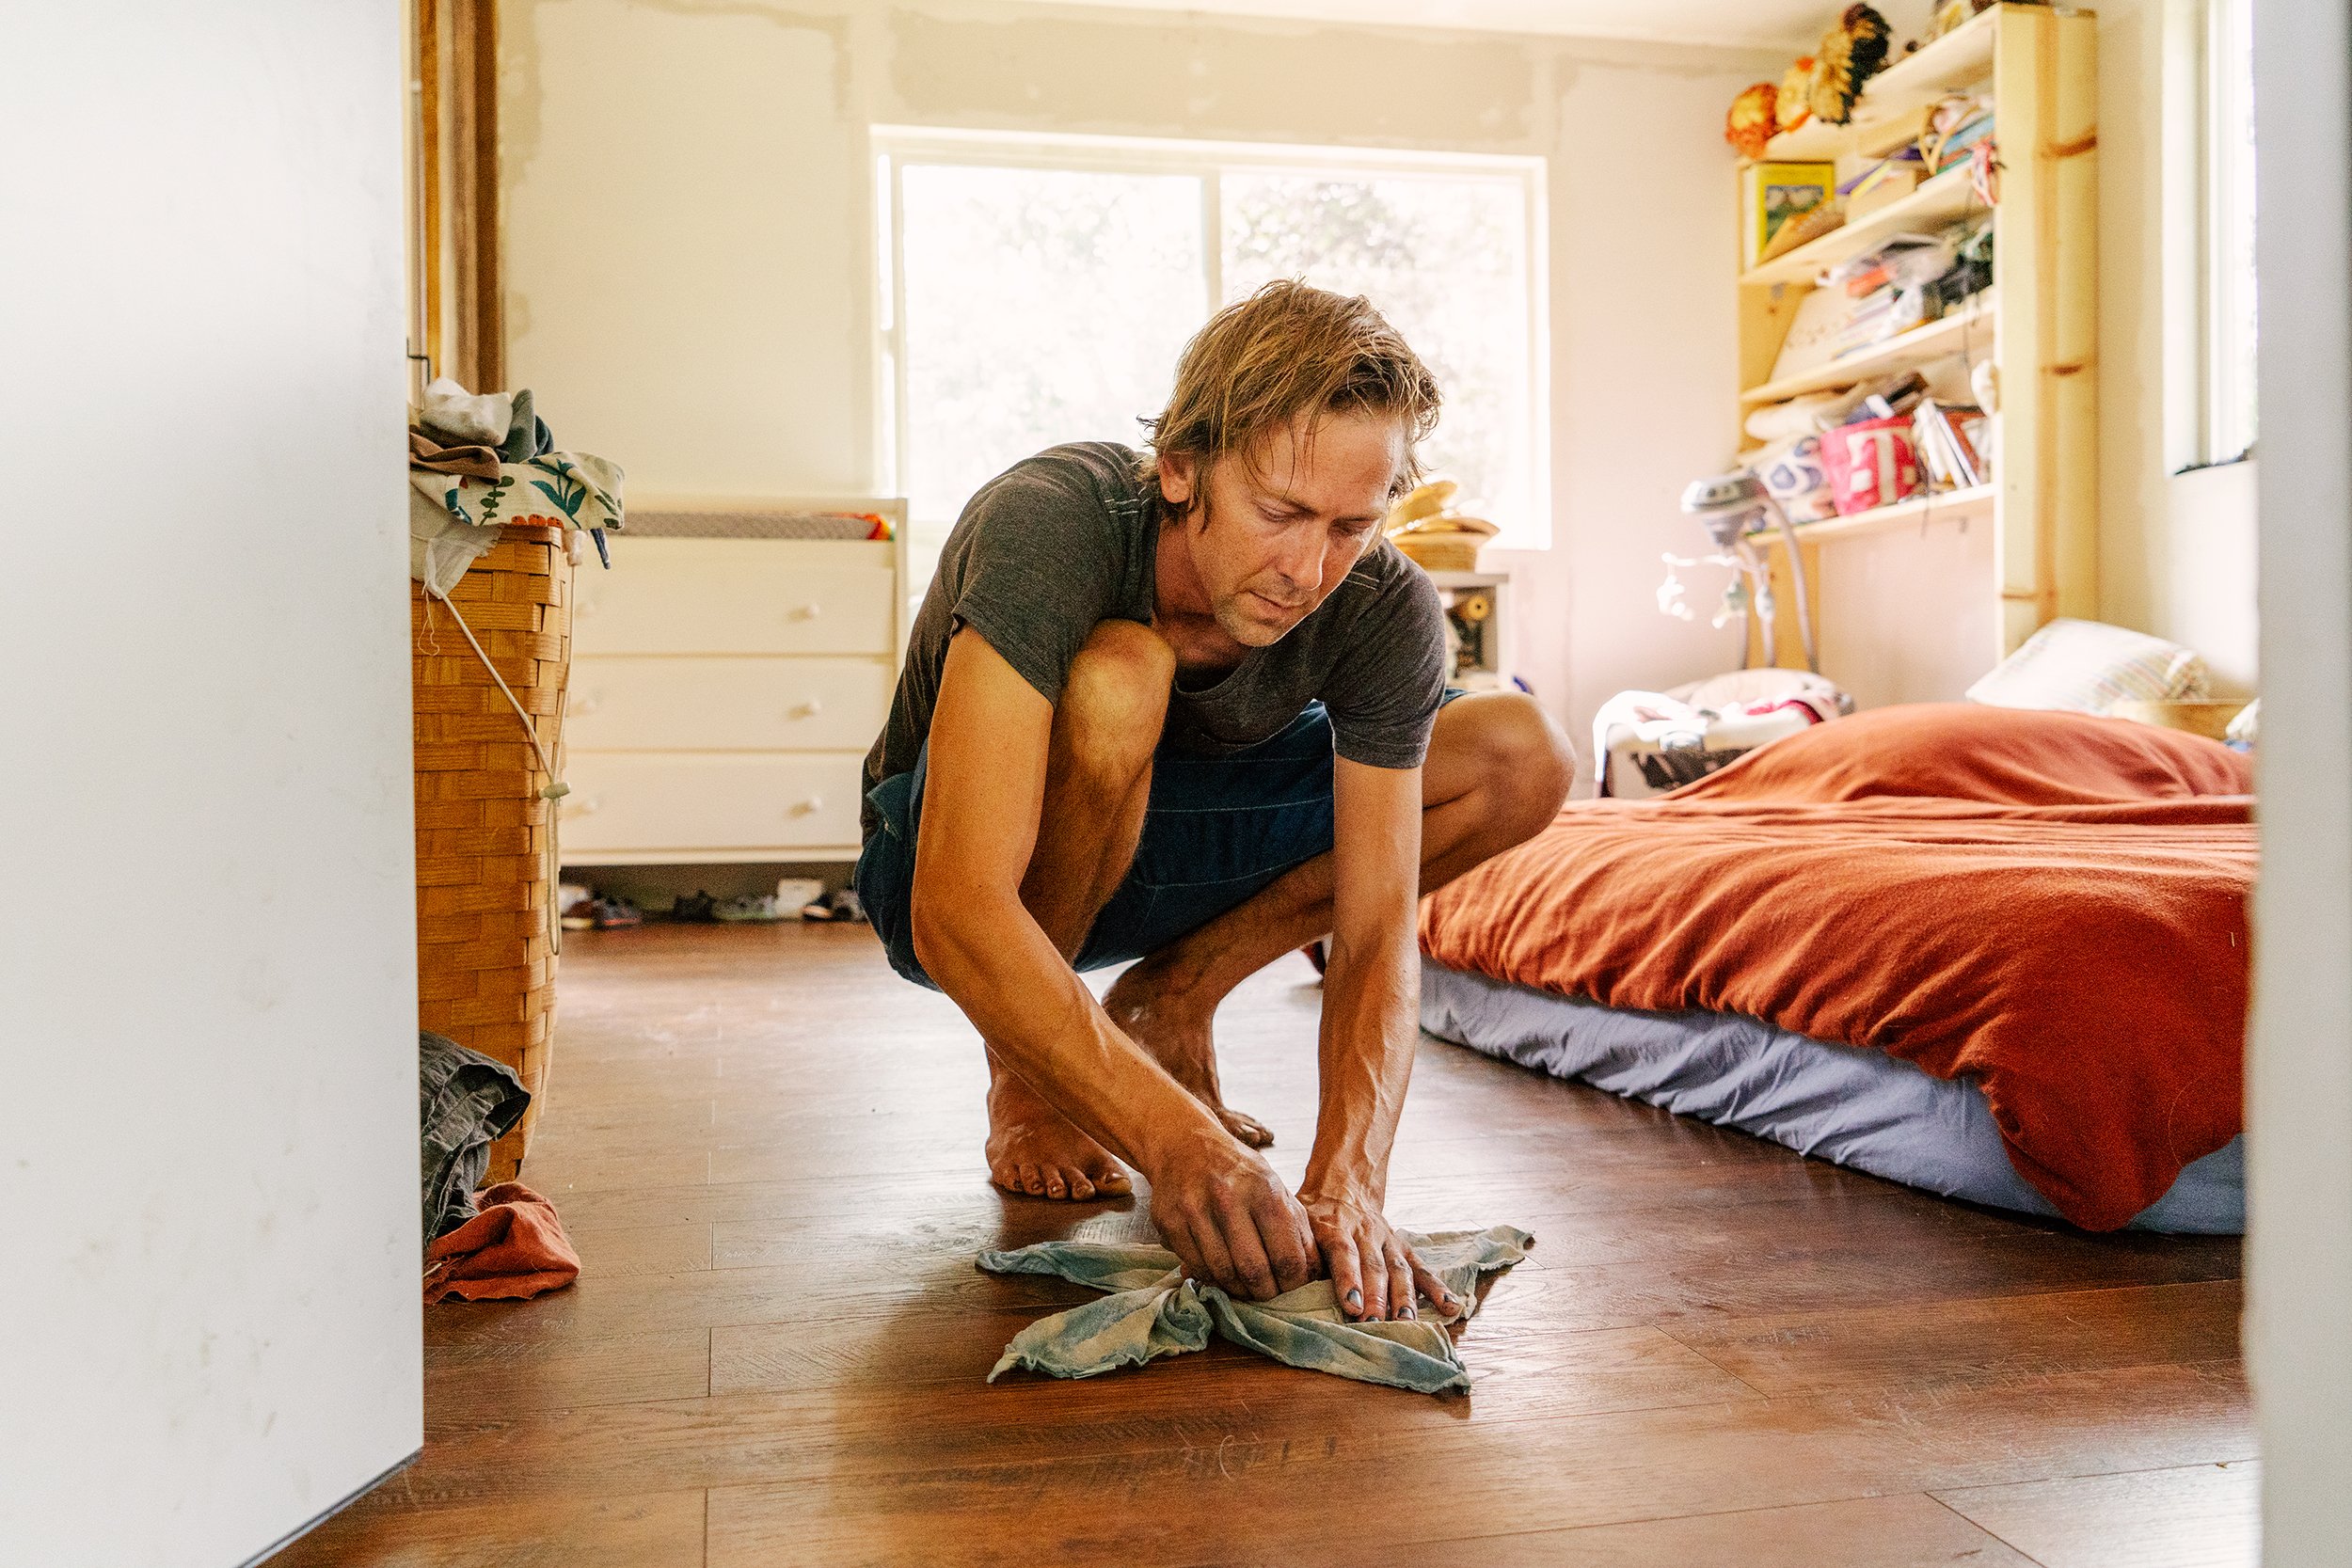
Indigo is a pigment that, among other sources, comes from the leaves of the indigo plant (when produced naturally, that is). Making an indigo vat is a process that involves fermentation to remove oxygen from the indigo molecules and takes time as a result. Wai'ala had one ready for us that day, so we started right in on the actual dyeing part. While you can just put fabric straight into dye to have a solid blue, there are various ways to fold and bind the material to create patterns and designs. One way is like tie-dye, which her husband demonstrated by twisting the fabric.
One other way to create patterns is to use plastic shapes clamped onto folded fabric. Wai'ala had a handful of options, though if you know me and my work, you know I am obsessed with circles, so of course, I went with that. Wai'ala showed me how to fold up the fabric and then clamped a pair of circles on the top and bottom, ensuring it was tight and aligned.
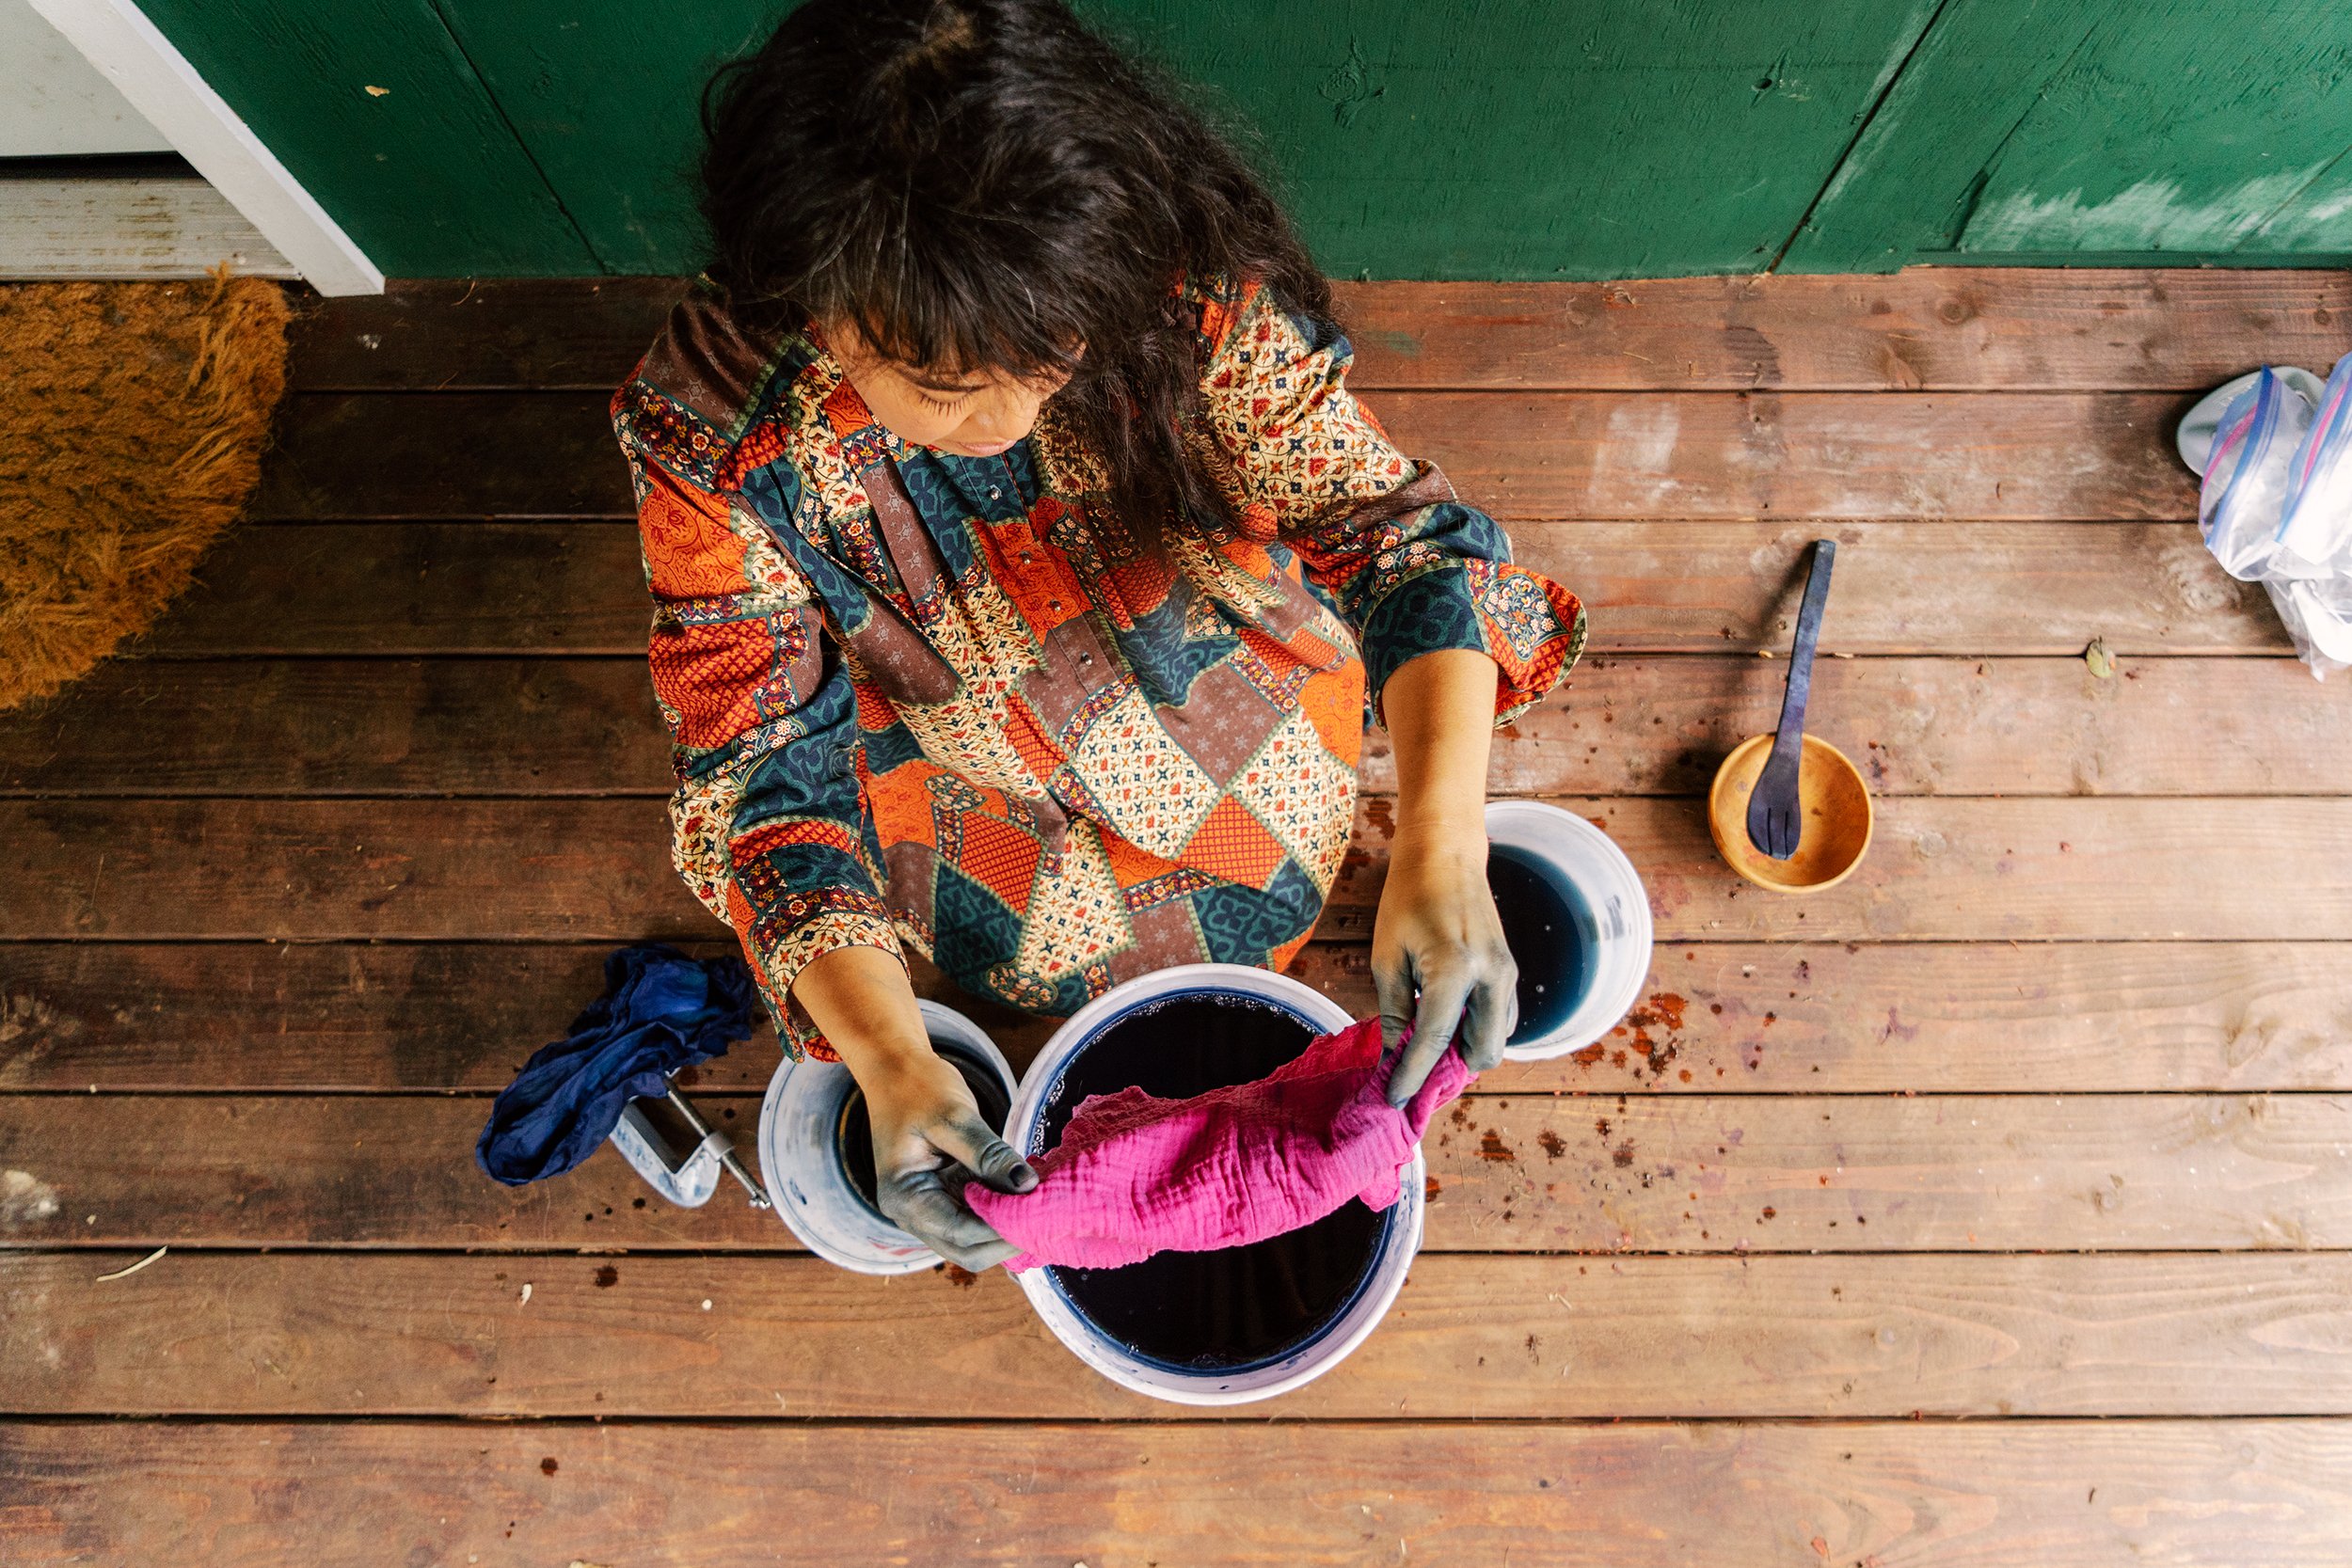
Once the fabric is clamped, it needs to be prepared to receive the dye by getting it wet in water. Then, it is lowered into the indigo vat. Within the indigo vat, the fabric needs to be moved around slightly, opening the different layers of folds to allow the indigo molecules to thoroughly soak in. Too much agitation is to be avoided, though, as that introduces oxygen, which you don't want.
After a few minutes, the fabric is pulled out of the vat, with excess liquid gently squeezed out to save as much as possible. Then, just like in the vat, you peel apart the layers, making sure that all the nooks and crannies are exposed to oxygen. You'll notice in the photos that when the fabric first comes out, it is a green color. Not the blue you associate with indigo. That's because the indigo molecules need to react with oxygen as they bind to the fibers. The oxidation is what turns the color blue.
Depending on how dark you want the blue color, you can repeatedly dip your fabric into the vat to build up the indigo molecules. If I remember correctly, I dipped my particular piece twice. Once you are satisfied with the color, the clamp gets taken off, and you can unfold the fabric to reveal the patterns! We then hung them up to dry on a line in the breeze, which was incredibly beautiful to me despite the simplicity.
Wai'ala also had a linen toddler outfit that was bright pink that she wanted to dye for her son. We were both quite surprised with how the color turned out despite the intense pink start! The pink snaps were quite entertaining as well.
We ended our amazing session with some family photos, though their son, Kupuohi, was still napping. The dogs were happy enough to take part, however! I cannot thank Wai'ala enough for sharing her absolutely incredible knowledge and passion with me. She is truly inspiring. I also have to thank her for her patience with me, as it took forever to get these posts up. It is a day I still think about, even though it happened almost 6 months ago.
You can see more of Wai’ala’s work and follow along with her journey on her Instagram!


